Floating elements
11/14/25About 4 min
Floating elements
- The
floatproperty can be used to move an HTML element to the far left or to the far right of its parent element floatis primarily used to float text around pictures
Tips
For the best viewing results, open this CodePen in a separate window by clicking on EDIT ON CODEPEN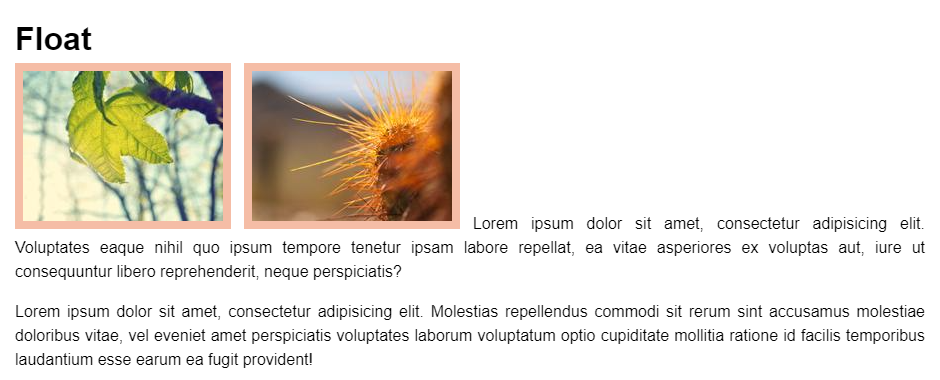
Float right
- In Codepen, edit the first image by adding some extra code:
- Float
#img1to therightside of its parent element - Give the image some extra space by adding some margin at the
leftandbottom
- Float
#img1 {
    float: right;
    margin-left: 1rem;
    margin-bottom: 1rem;
}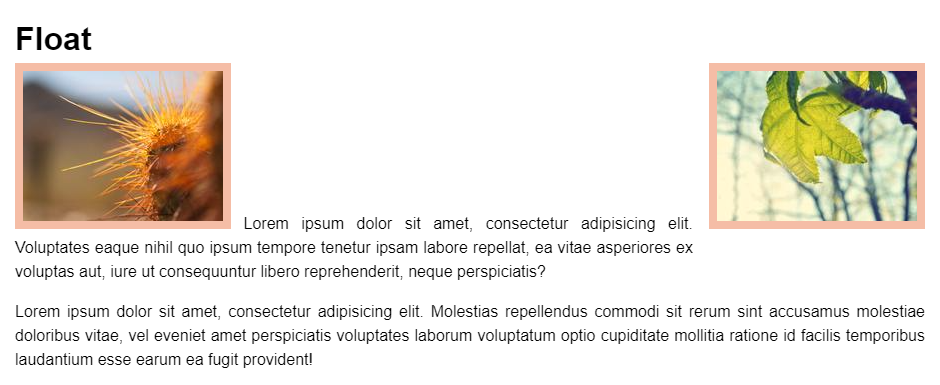
Float left
- In CodePen, edit the second image by adding some extra code:
- Float
#img2to theleftside of its parent element - Give the image some extra space by adding some margin at the
rightandbottom
- Float
#img2 {
    float: left;
    margin-right: 1rem;
    margin-bottom: 1rem;
}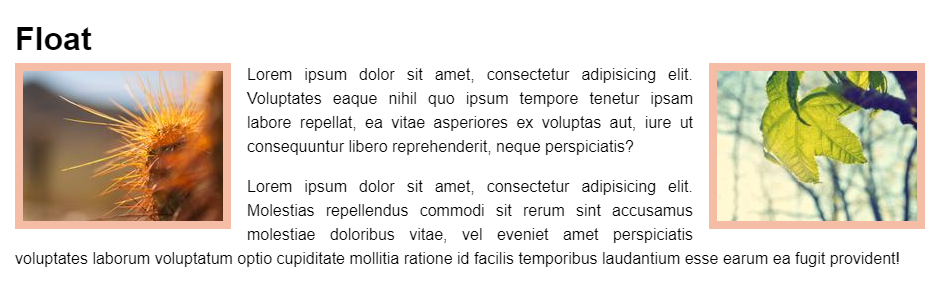
Stop floating
Clear float
- Sometimes you want the floating to stop because it will break the layout
- In the next example, we want the second paragraph below the first paragraph

- You can stop the floating by adding the
clear: bothproperty to the second paragraph
(bothmeans that there can't be a floating element on the left or on the right) - You probably need this more than once in a website, so it's best to make a special class for this
.clearfloat {
    clear: both;
}- Add the class
.clearfloatto the second paragraph
<p class="clearfloat">
    <img ... />
    ...
</p>
Clear fix
- Clearing floats is not always a good solution
- Let's go back to the first example, but with some additional styling added to the paragraphs

- If we add the class
clearfloatto the second paragraph (as we did before), the floating stops, but the images don't stay within their parent paragraph
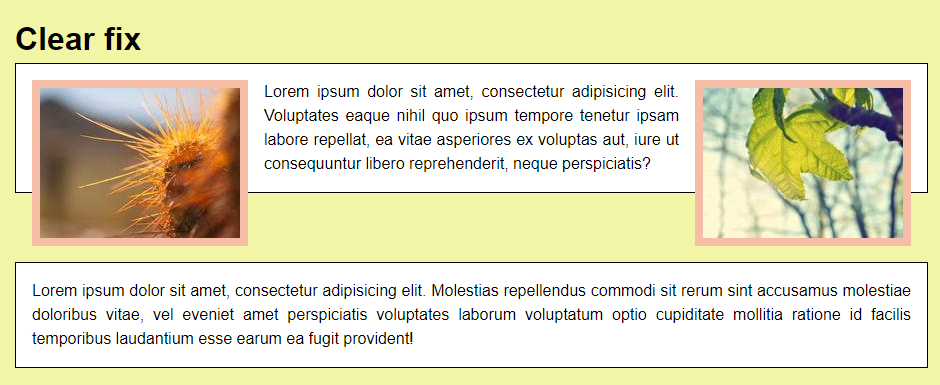
- To fix this behavior (= to ensure that the parent element will expand to a proper height enclosing its floating children), you can use the style rule
overflow: auto;on the parent (or ancestor) tag - You probably need this more than once in a website, so it's best to make a special class for this
.clearfix {
    overflow: auto;
}- Add the class
clearfixto theptag that contains the floating images (and remove the classclearfloatfrom the second paragraph)
<p class="clearfix">
    <img ... />
    <img ... />
    ...
</p>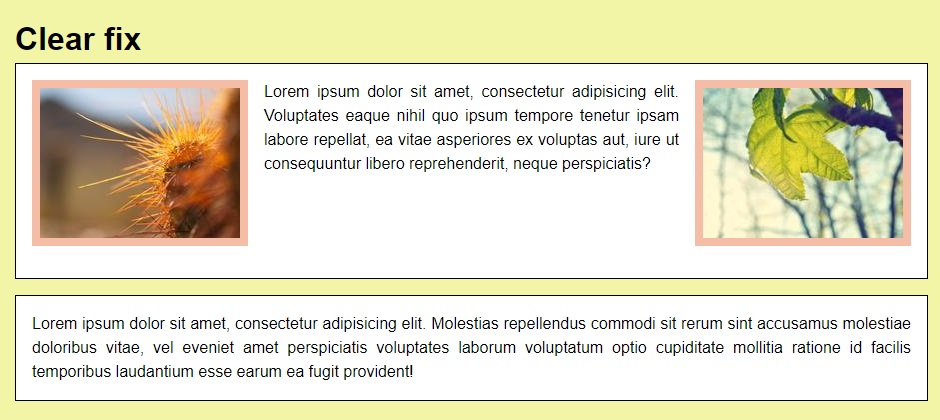
Emmet
| EMMET instruction | result |
|---|---|
fl + TAB | float: left; |
fl:r + TAB | float: right; |
cl + TAB | clear: both; |
cl:b + TAB | clear: both; |
ov:a + TAB | overflow: auto; |